Basics
This guide will help you to get started with Rubrix to perform basic tasks such as uploading data or data annotation.
How to upload data
The main component of the Rubrix data model is called a record. A dataset in Rubrix is a collection of these records. Records can be of different types depending on the currently supported tasks:
TextClassificationRecord: Records for text classification tasks;TokenClassificationRecord: Records for token classification tasks;Text2TextRecord: Records for text-to-text tasks;
The most critical attributes of a record that are common to all types are:
text: The input text of the record (Required);annotation: Annotate your record in a task-specific manner (Optional);prediction: Add task-specific model predictions to the record (Optional);metadata: Add some arbitrary metadata to the record (Optional);
In Rubrix, records are created programmatically using the client library within a Python script, a Jupyter notebook, or another IDE.
Let’s see how to create and upload a basic record to the Rubrix web app (make sure Rubrix is already installed on your machine as described in the setup guide):
[ ]:
import rubrix as rb
# Create a basic text classification record
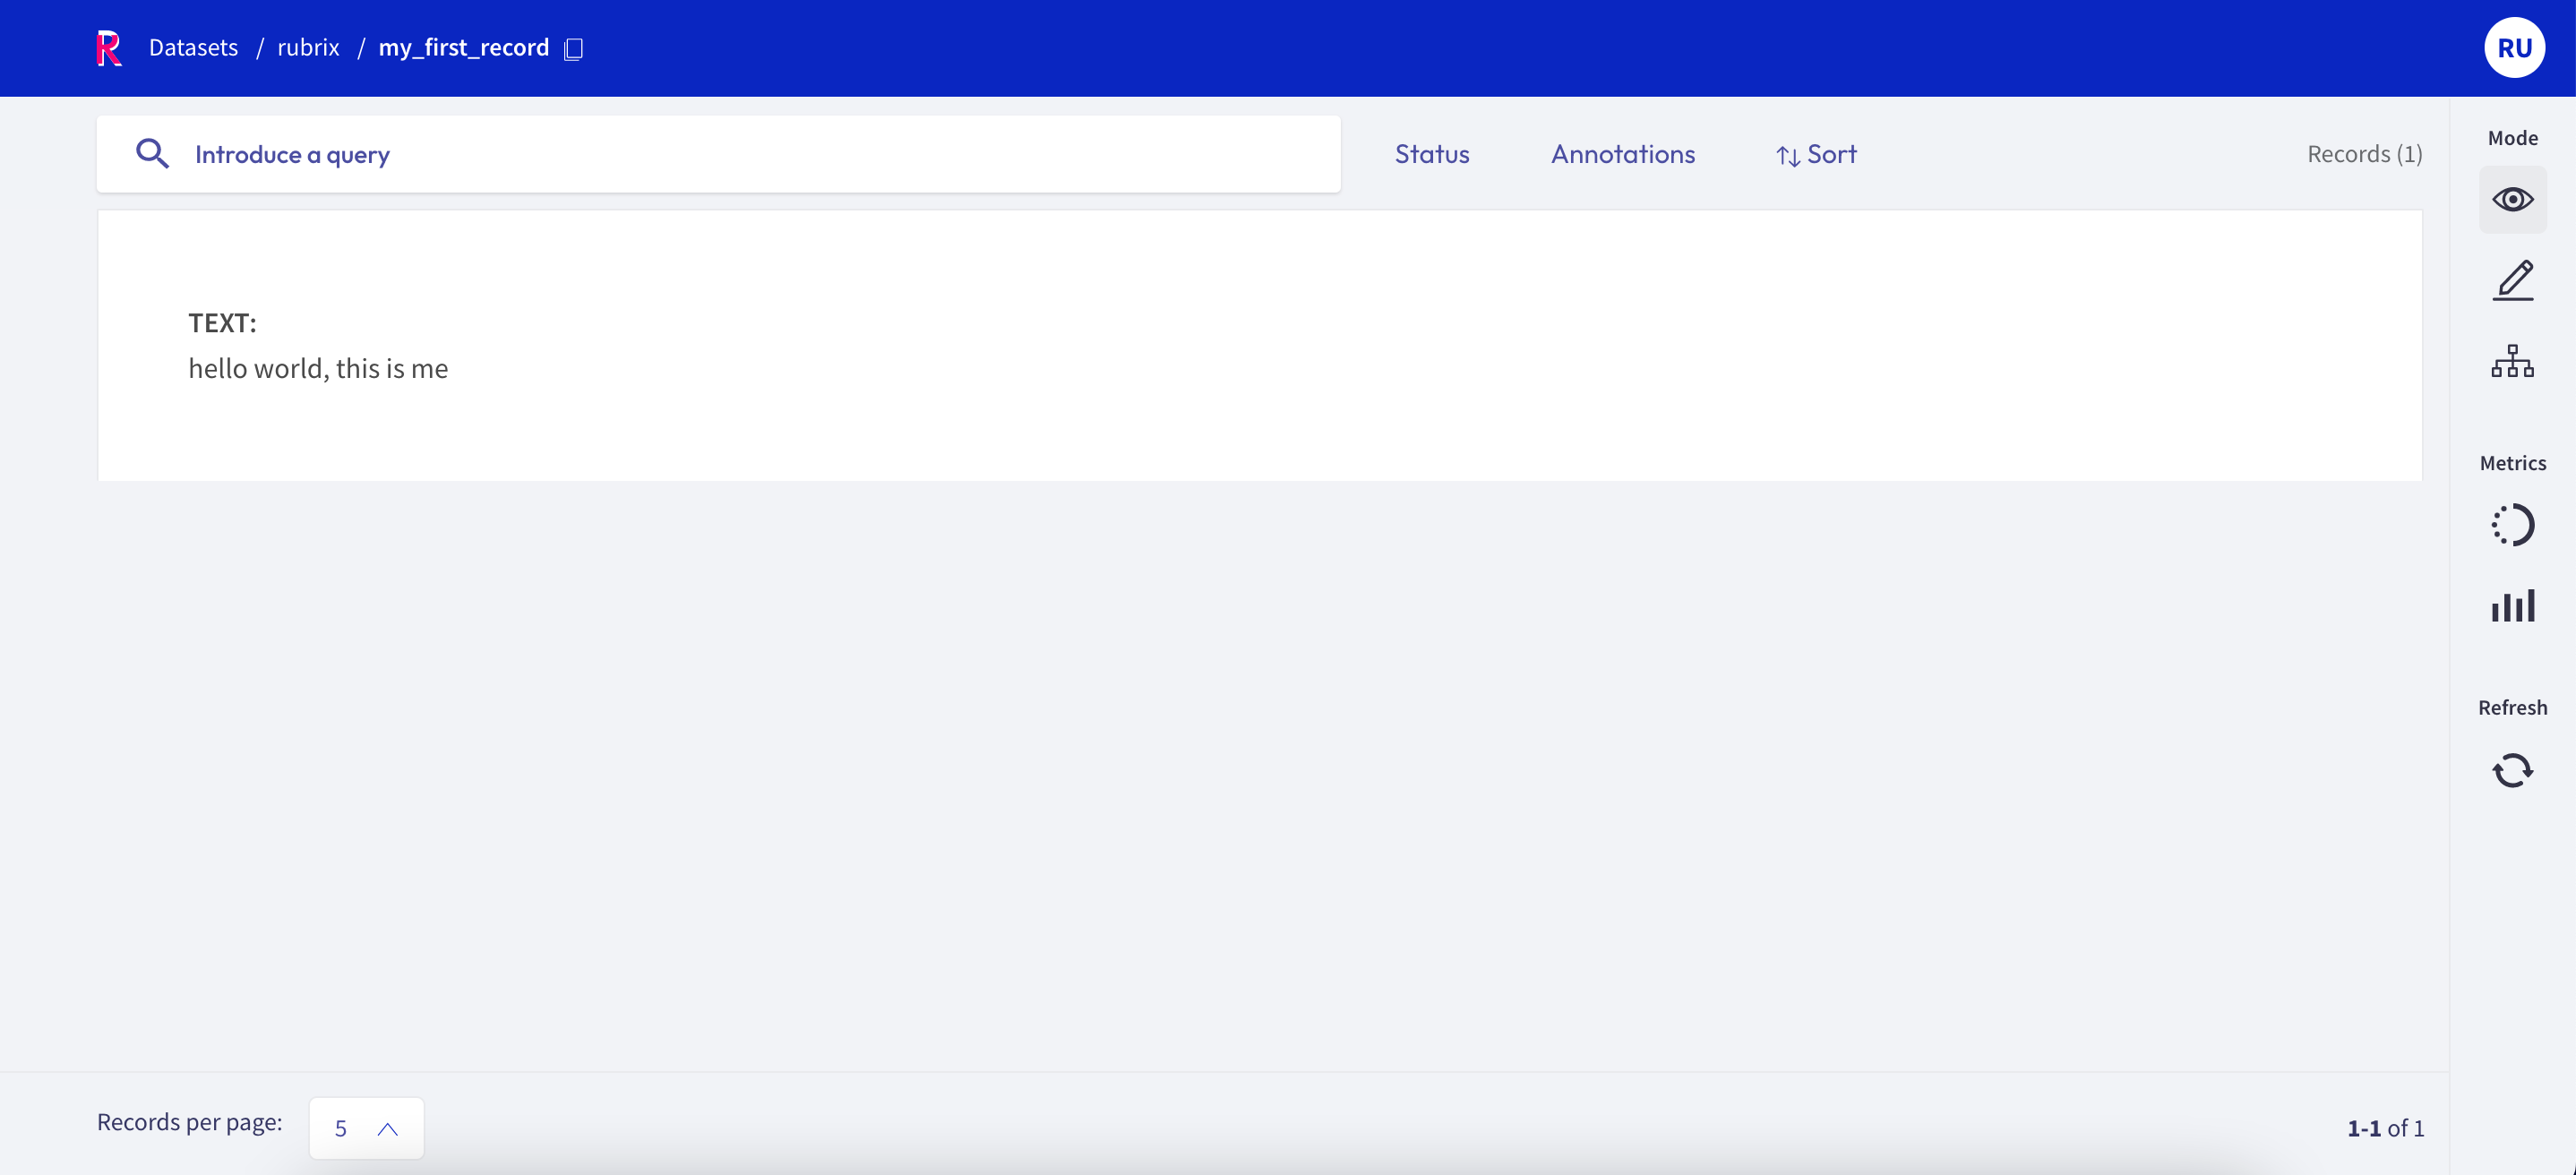
record = rb.TextClassificationRecord(text="Hello world, this is me!")
# Upload (log) the record to the Rubrix web app
rb.log(record, "my_first_record")
Now you can access the “my_first_record” dataset in the Rubrix web app and look at your first record.
However, most of the time, you will have your data in some file format, like TXT, CSV, or JSON. Rubrix relies on two well-known Python libraries to read these files: pandas and datasets. After reading the files with one of those libraries, Rubrix provides shortcuts to create your records automatically.
Let us look at a few examples for each of the record types. As mentioned earlier, you choose the record type depending on the task you want to tackle.
1. Text classification
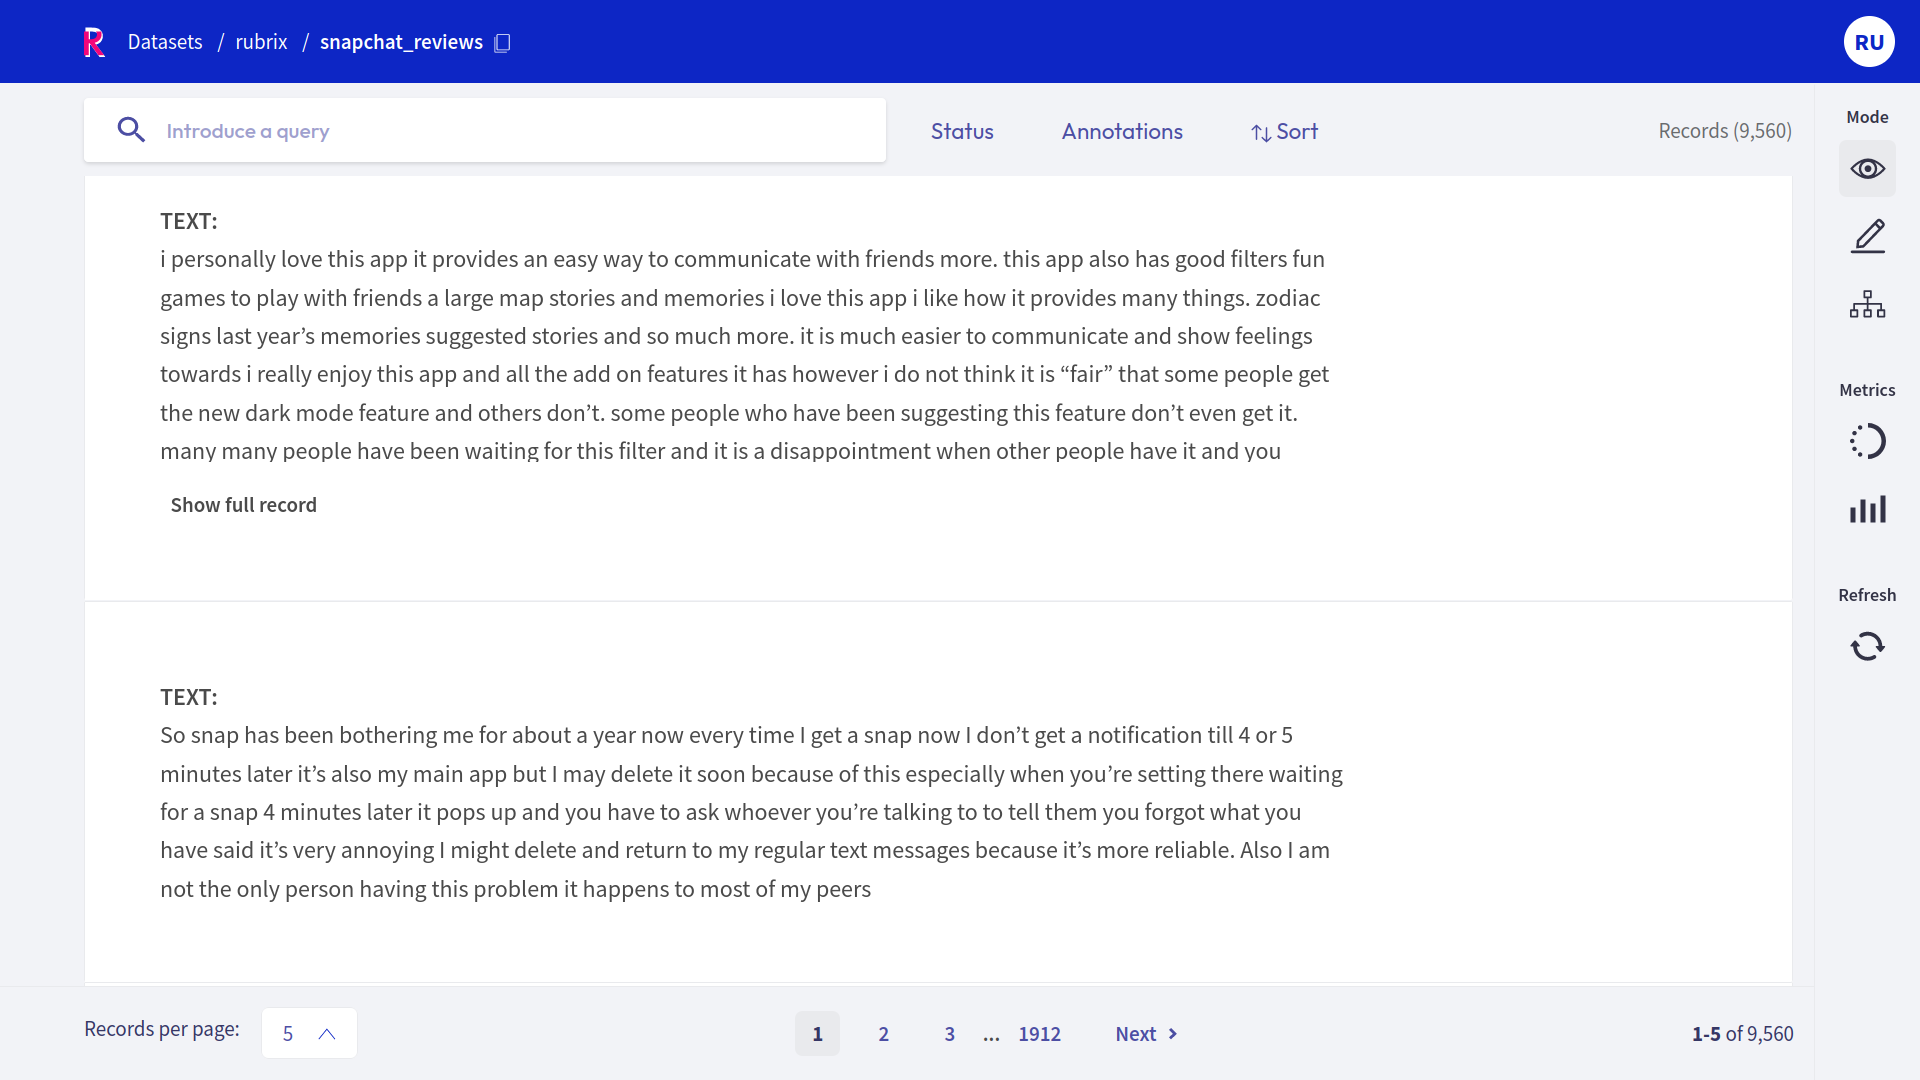
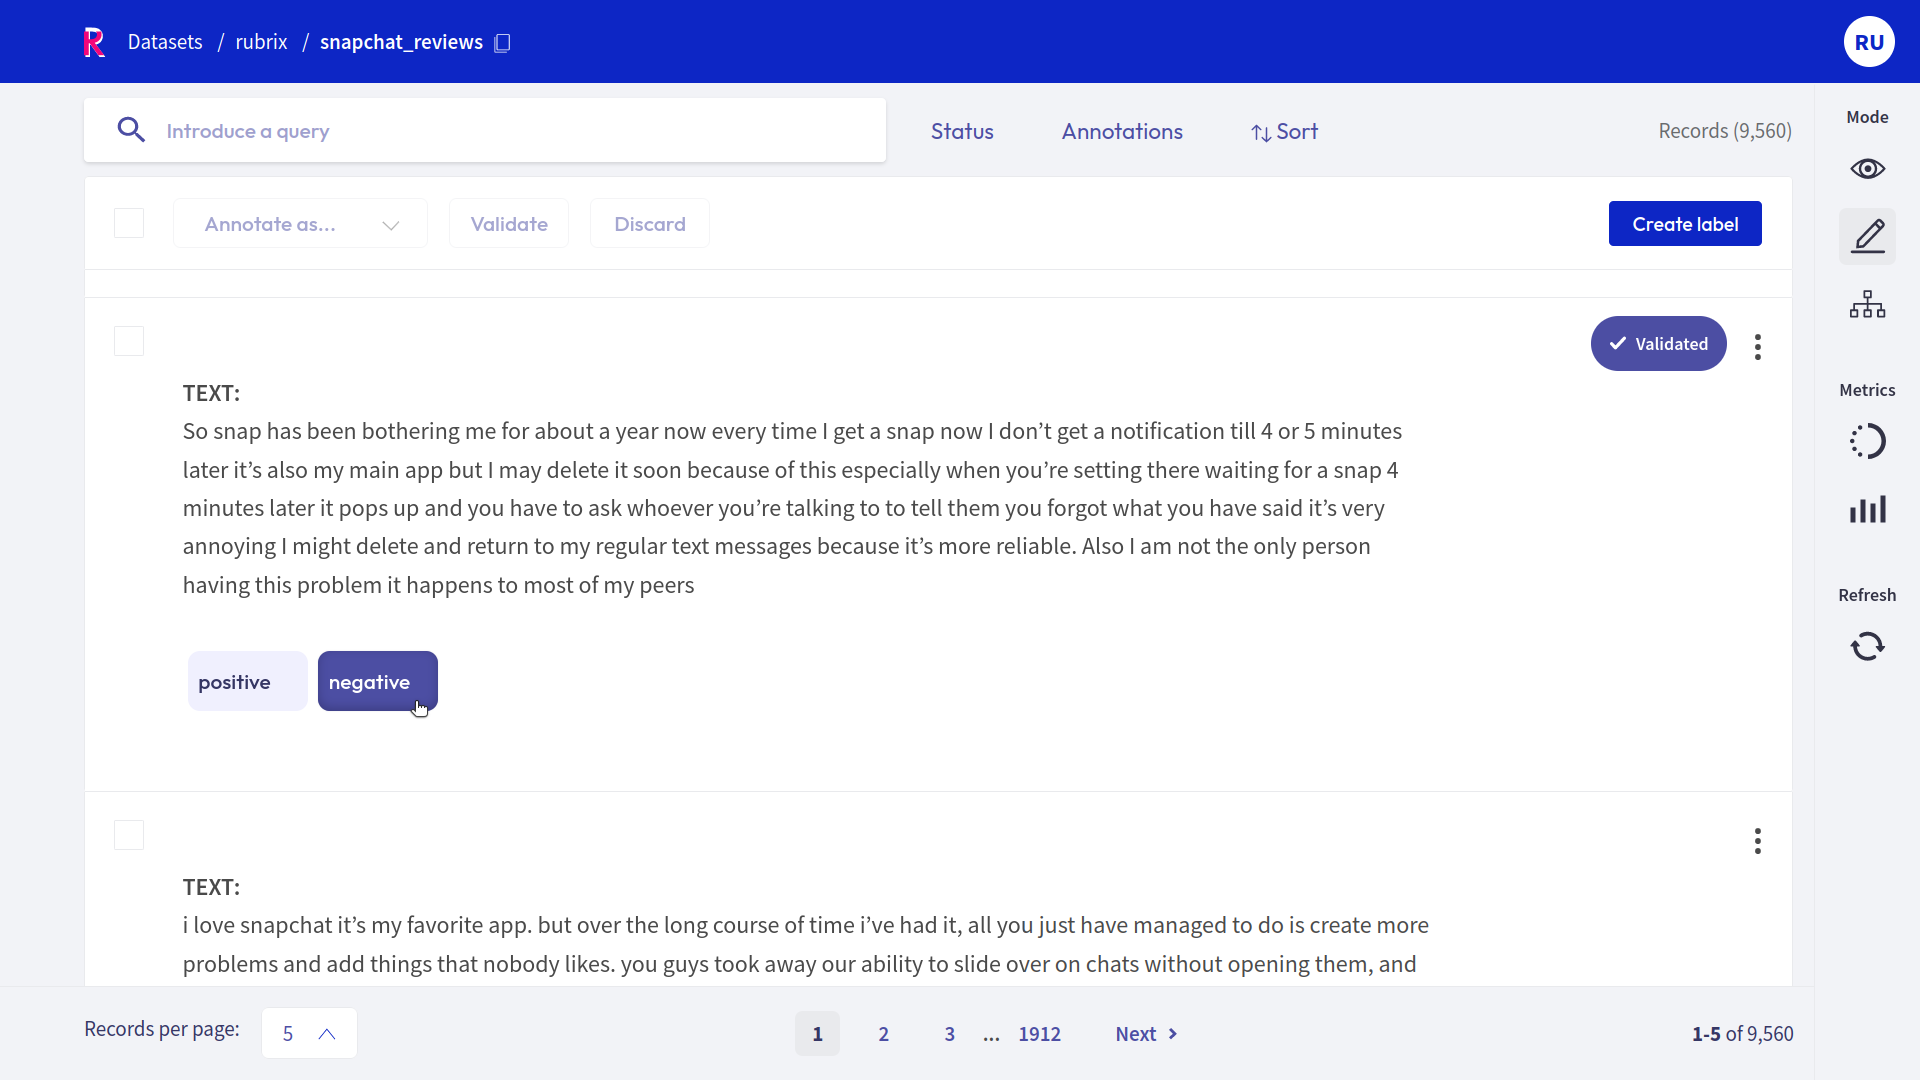
In this example, we will read a CSV file from a Kaggle competition that contains reviews for the Snapchat app. The underlying task here could be to classify the reviews by their sentiment.
Let us read the file with pandas
Note
If the file is too big to fit in memory, try using the datasets library with no memory constraints, as shown in the next section.
[ ]:
import pandas as pd

# Read the CSV file into a pandas DataFrame
dataframe = pd.read_csv("Snapchat_app_store_reviews.csv")
and have a quick look at the first three rows of the resulting pandas DataFrame:
[41]:
dataframe.head(3)
[41]:
| Unnamed: 0 | userName | rating | review | isEdited | date | title | |
|---|---|---|---|---|---|---|---|
| 0 | 0 | Savvanananahhh | 4 | For the most part I quite enjoy Snapchat it’s ... | False | 10/4/20 6:01 | Performance issues |
| 1 | 1 | Idek 9-101112 | 3 | I’m sorry to say it, but something is definite... | False | 10/14/20 2:13 | What happened? |
| 2 | 2 | William Quintana | 3 | Snapchat update ruined my story organization! ... | False | 7/31/20 19:54 | STORY ORGANIZATION RUINED! |
We will choose the review column as input text for our records. For Rubrix to know, we have to rename the corresponding column to text.
[ ]:
# Rename the 'review' column to 'text',
dataframe = dataframe.rename(columns={"review": "text"})
We can now read this DataFrame with Rubrix, which will automatically create the records and put them in a Rubrix Dataset.
[ ]:
import rubrix as rb

# Read DataFrame into a Rubrix Dataset
dataset_rb = rb.read_pandas(dataframe, task="TextClassification")
We will upload this dataset to the web app and give it the name snapchat_reviews
[ ]:
# Upload (log) the Dataset to the web app
rb.log(dataset_rb, "snapchat_reviews")
2. Token classification
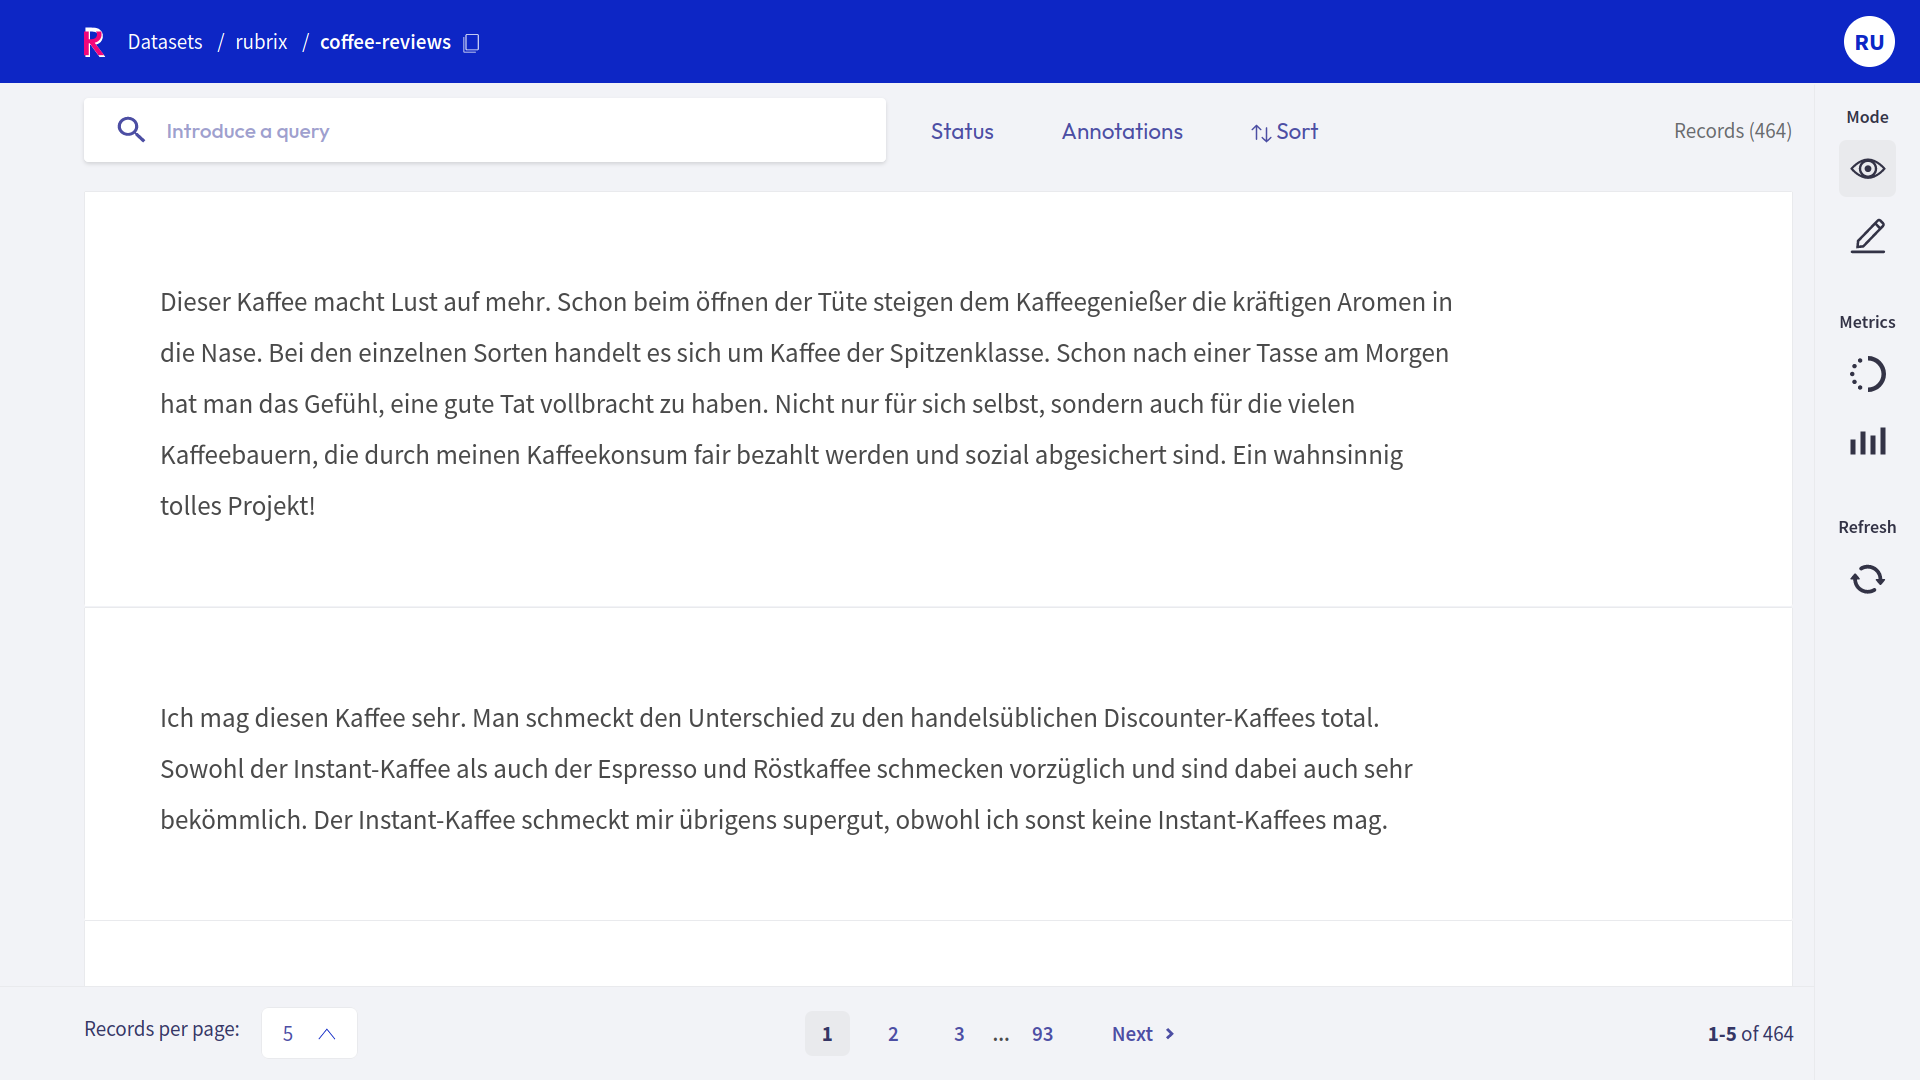
We will use German reviews of organic coffees in a CSV file for this example. The underlying task here could be to extract all attributes of an organic coffee.
This time, let’s read the file with datasets.
[ ]:
from datasets import Dataset

# Read the csv file
dataset = Dataset.from_csv("kaffee_reviews.csv")
and have a quick look at the first three rows of the resulting dataset Dataset:
[94]:
# The best way to visualize a Dataset is actually via pandas
dataset.select(range(3)).to_pandas()
[94]:
| Unnamed: 0 | brand | rating | review | |
|---|---|---|---|---|
| 0 | 0 | GEPA Kaffee | 5 | Wenn ich Bohnenkaffee trinke (auf Arbeit trink... |
| 1 | 1 | GEPA Kaffee | 5 | Für mich ist dieser Kaffee ideal. Die Grundvor... |
| 2 | 2 | GEPA Kaffee | 5 | Ich persönlich bin insbesondere von dem Geschm... |
We will choose the review column as input text for our records. For Rubrix to know, we have to rename the corresponding column to text.
[95]:
dataset = dataset.rename_column("review", "text")
In contrast to the other types, token classification records need the input text and the corresponding tokens. So let us tokenize our input text in a small helper function and add the tokens to a new column called tokens.
Note
We will use spaCy to tokenize the text, but you can use whatever library you prefer.
[ ]:
import spacy

# Load a german spaCy model to tokenize our text
nlp = spacy.load("de_core_news_sm")

# Define our tokenize function
def tokenize(row):
    tokens = [token.text for token in nlp(row["text"])]
    return {"tokens": tokens}

# Map the tokenize function to our dataset
dataset = dataset.map(tokenize)
Let us have a quick look at our extended Dataset:
[97]:
dataset.select(range(3)).to_pandas()
[97]:
| Unnamed: 0 | brand | rating | text | tokens | |
|---|---|---|---|---|---|
| 0 | 0 | GEPA Kaffee | 5 | Wenn ich Bohnenkaffee trinke (auf Arbeit trink... | [Wenn, ich, Bohnenkaffee, trinke, (, auf, Arbe... |
| 1 | 1 | GEPA Kaffee | 5 | Für mich ist dieser Kaffee ideal. Die Grundvor... | [Für, mich, ist, dieser, Kaffee, ideal, ., Die... |
| 2 | 2 | GEPA Kaffee | 5 | Ich persönlich bin insbesondere von dem Geschm... | [Ich, persönlich, bin, insbesondere, von, dem,... |
We can now read this Dataset with Rubrix, which will automatically create the records and put them in a Rubrix Dataset.
[ ]:
import rubrix as rb

# Read Dataset into a Rubrix Dataset
dataset_rb = rb.read_datasets(dataset, task="TokenClassification")
We will upload this dataset to the web app and give it the name coffee_reviews
[ ]:
# Log the datset to the Rubrix web app
rb.log(dataset_rb, "coffee-reviews")
3. Text2Text
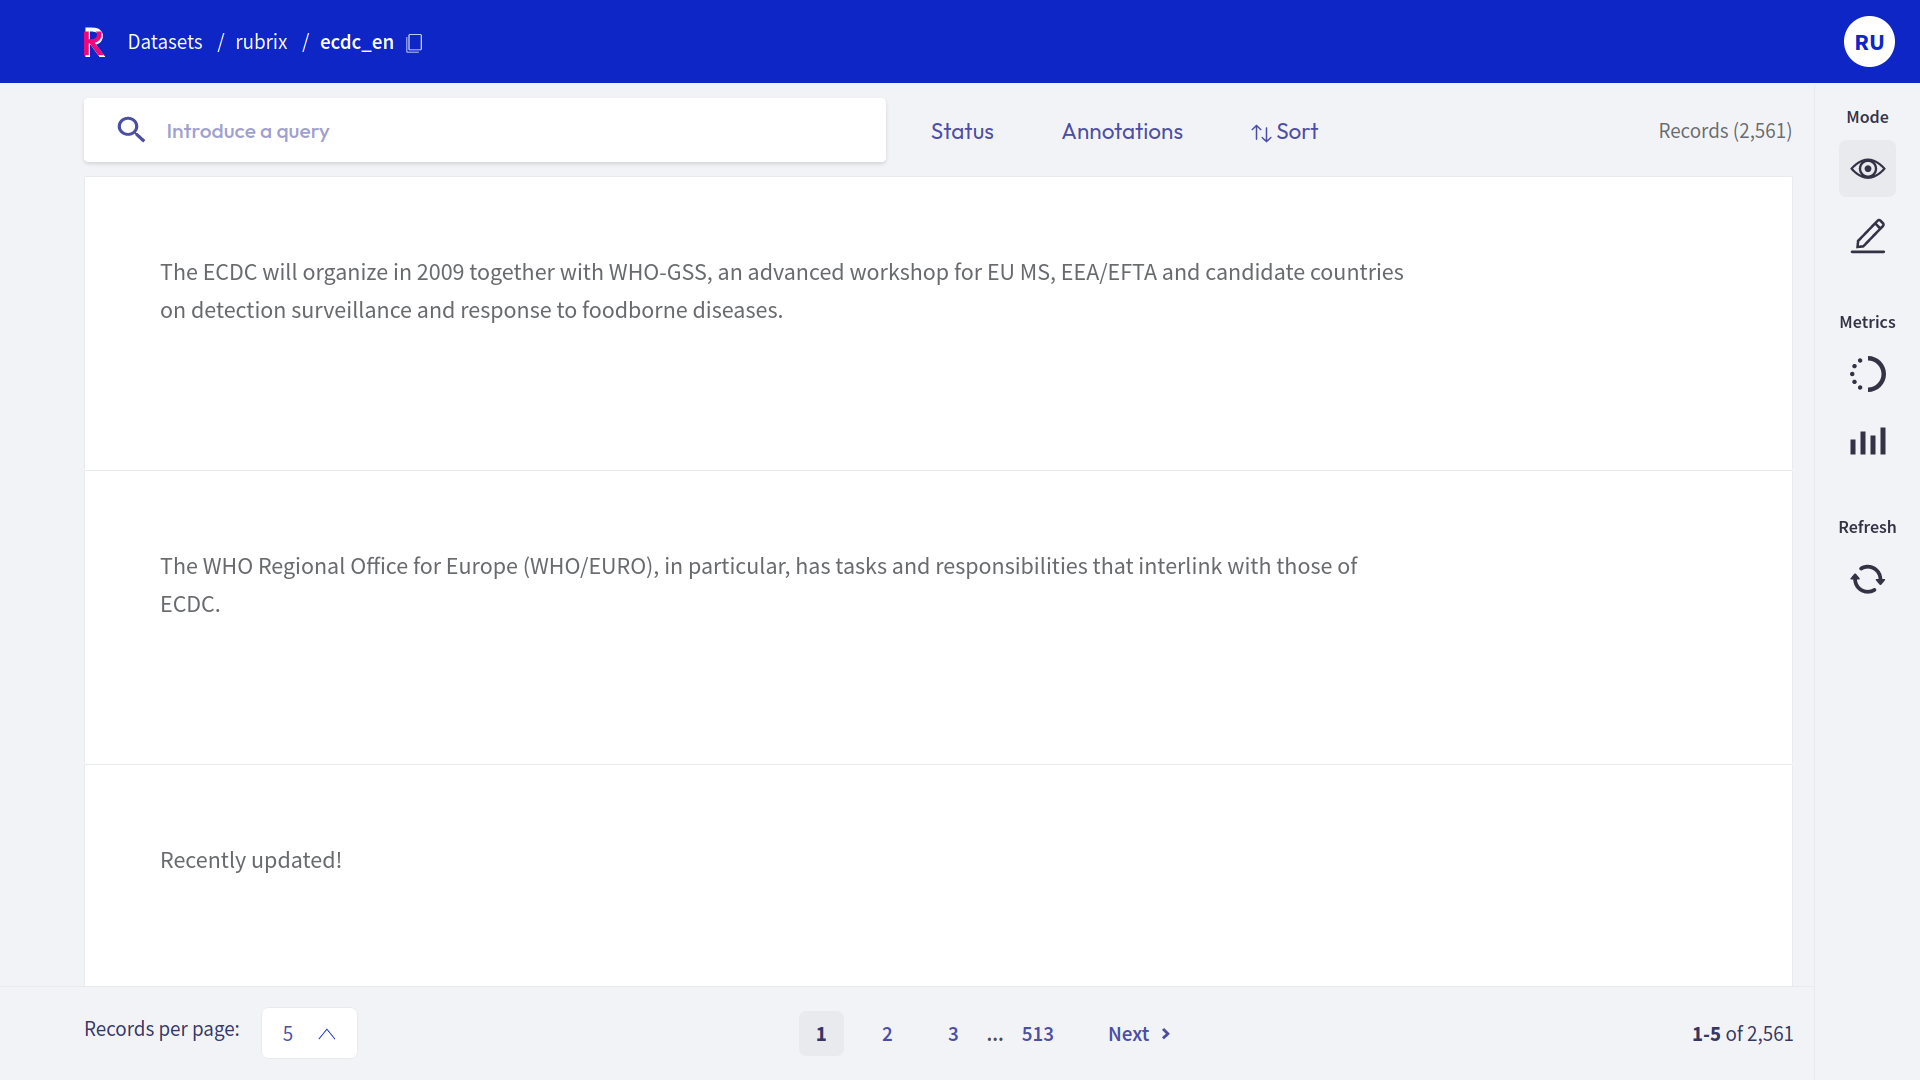
In this example, we will use English sentences from the European Center for Disease Prevention and Control available at the Hugging Face Hub. The underlying task here could be to translate the sentences into other European languages.
Let us load the data with datasets from the Hub.
[ ]:
from datasets import load_dataset

# Load the Dataset from the Hugging Face Hub and extract the train split
dataset = load_dataset("europa_ecdc_tm", "en2fr", split="train")
and have a quick look at the first row of the resulting dataset Dataset:
[101]:
dataset[0]
[101]:
{'translation': {'en': 'Vaccination against hepatitis C is not yet available.',
  'fr': 'Aucune vaccination contre l’hépatite C n’est encore disponible.'}}
We can see that the English sentences are nested in a dictionary inside the translation column. To extract the phrases into a new text column, we will write a quick helper function and map the whole Dataset with it.
[ ]:
# Define our helper extract function
def extract(row):
    return {"text": row["translation"]["en"]}

# Map the extract function to our dataset
dataset = dataset.map(extract)
Let us have a quick look at our extended Dataset:
[103]:
dataset[0]
[103]:
{'translation': {'en': 'Vaccination against hepatitis C is not yet available.',
  'fr': 'Aucune vaccination contre l’hépatite C n’est encore disponible.'},
 'text': 'Vaccination against hepatitis C is not yet available.'}
We can now read this Dataset with Rubrix, which will automatically create the records and put them in a Rubrix Dataset.
[ ]:
import rubrix as rb

# Read Dataset into a Rubrix Dataset
dataset_rb = rb.read_datasets(dataset, task="Text2Text")
We will upload this dataset to the web app and give it the name ecdc_en
[ ]:
# Log the datset to the Rubrix web app
rb.log(dataset_rb, "ecdc_en")
How to label datasets
Rubrix provides several ways to label your data. Using Rubrix’s UI, you can mix and match the following options:
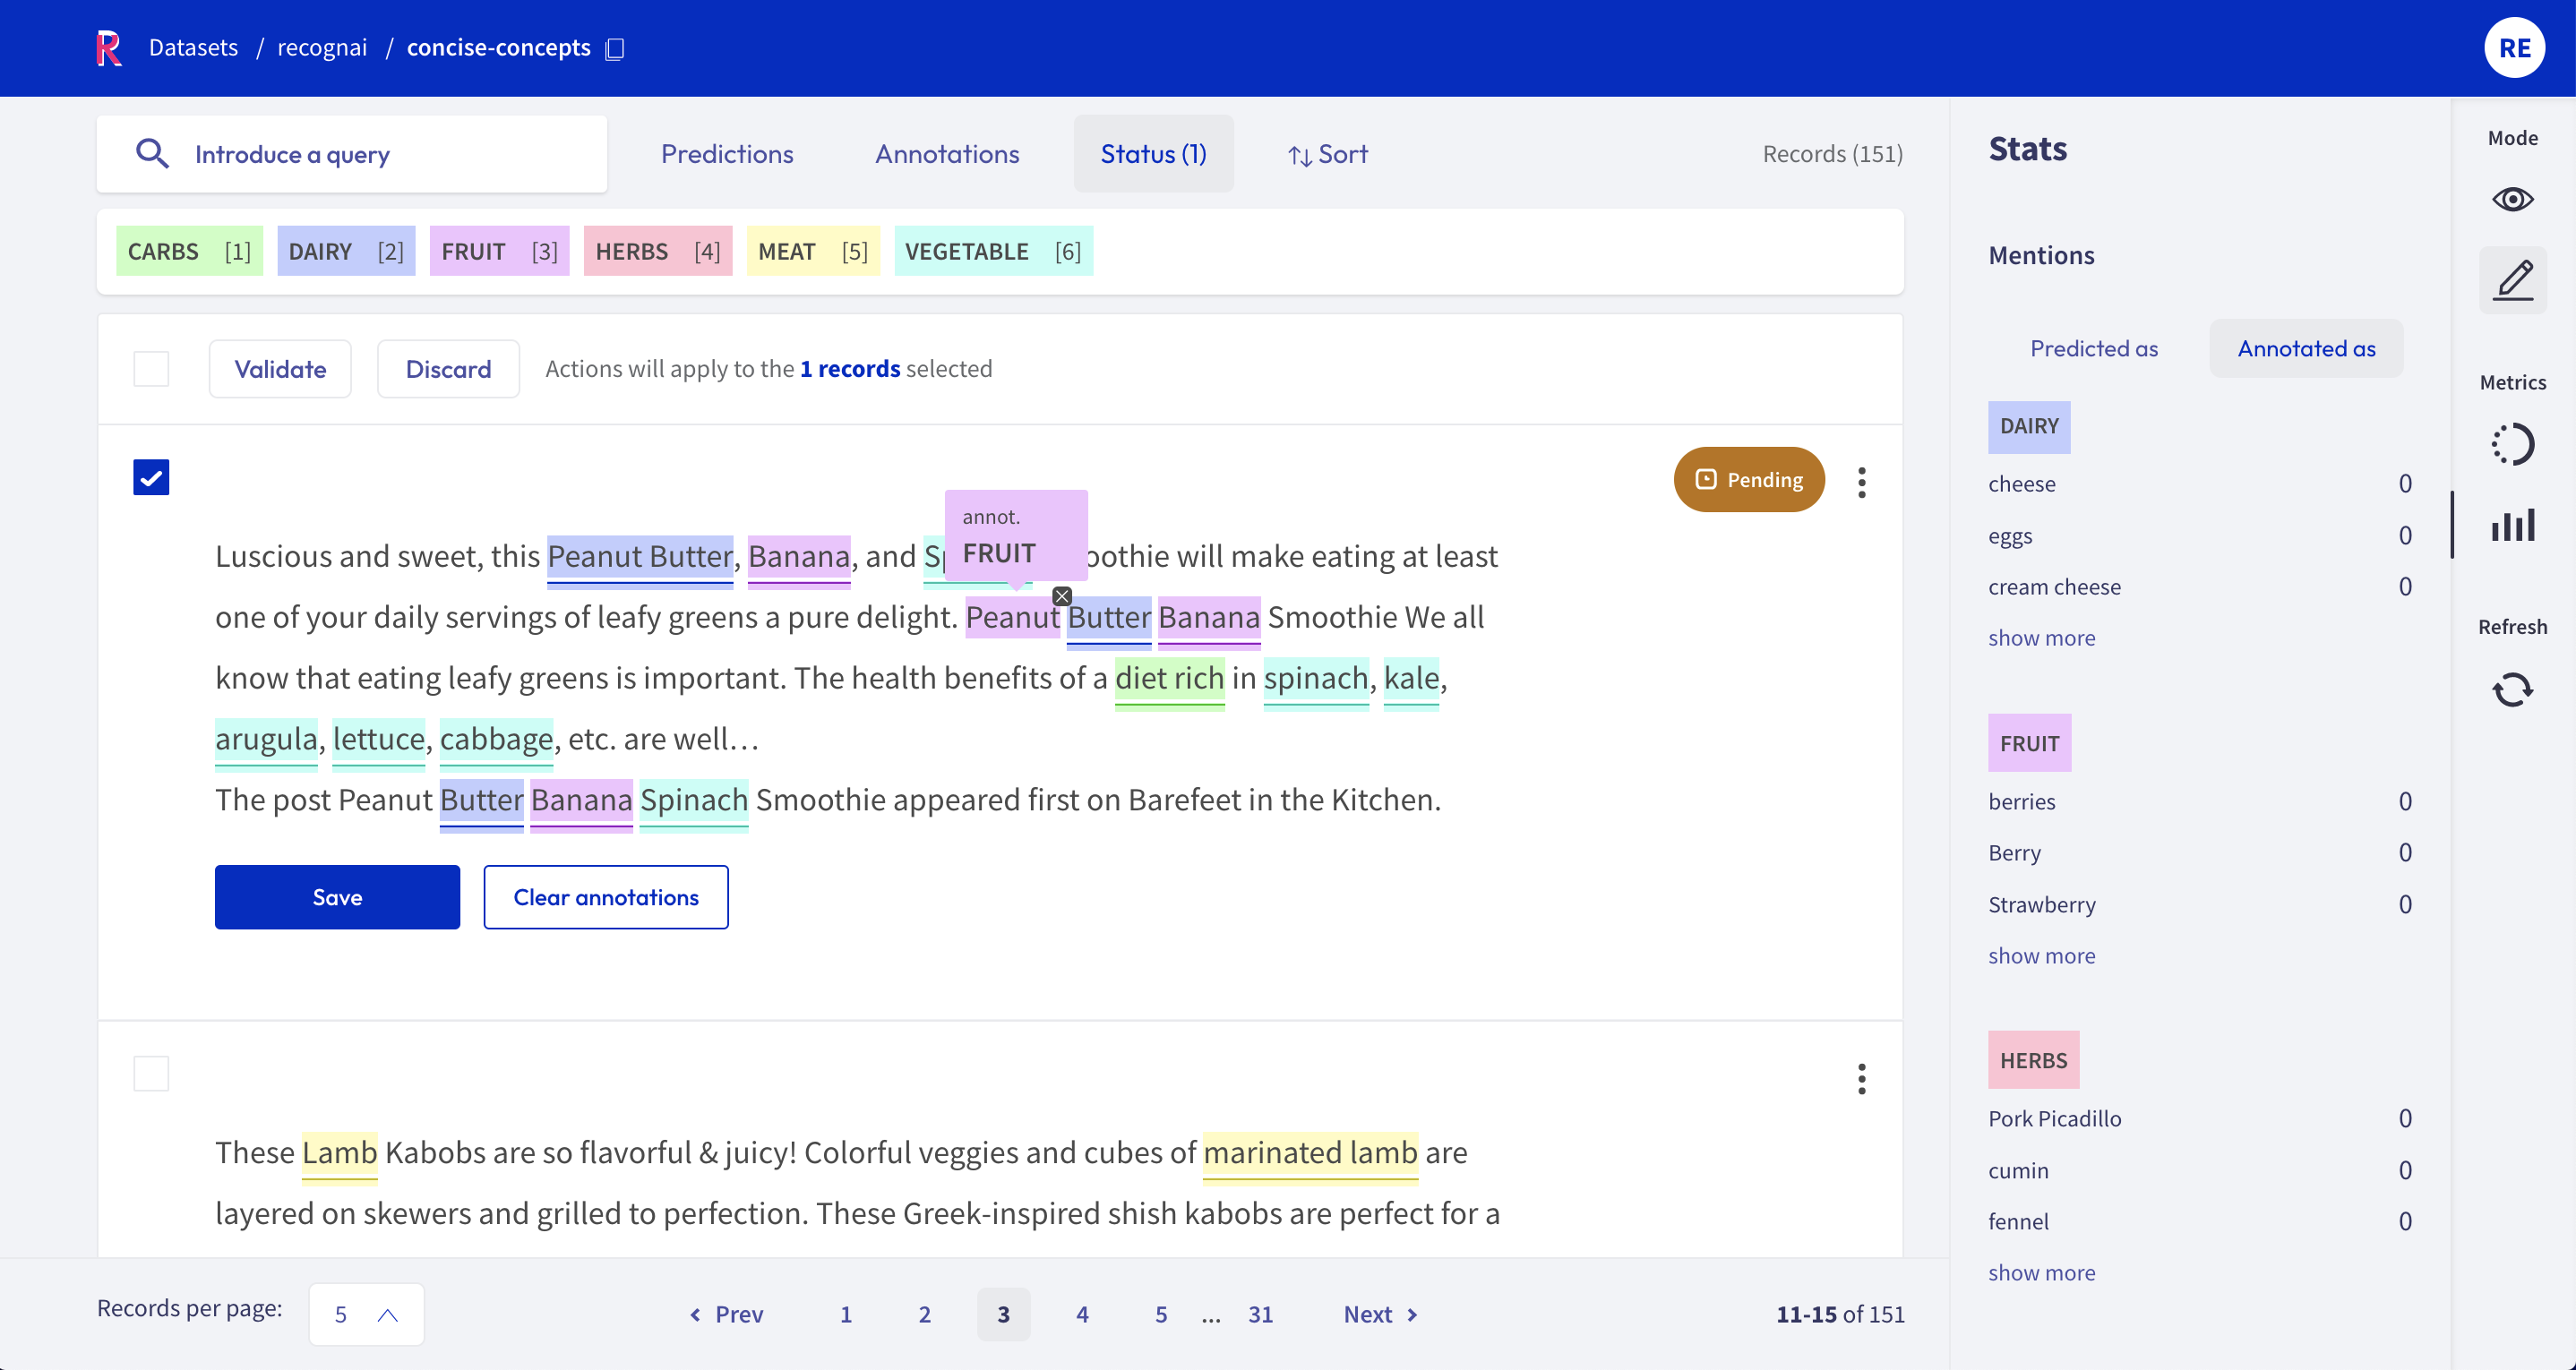
Manually labeling each record using the specialized interface for each task type;
Leveraging a user-provided model and validating its predictions;
Defining heuristic rules to produce “noisy labels” which can then be combined with weak supervision;
Each way has its pros and cons, and the best match largely depends on your individual use case.
1. Manual labeling
The straightforward approach of manual annotations might be necessary if you do not have a suitable model for your use case or cannot come up with good heuristic rules for your dataset. It can also be a good approach if you dispose of a large annotation workforce or require few but unbiased and high-quality labels.
Rubrix tries to make this relatively cumbersome approach as painless as possible. Via an intuitive and adaptive UI, its exhaustive search and filter functionalities, and bulk annotation capabilities, Rubrix turns the manual annotation process into an efficient option.
Look at our dedicated feature reference for a detailed and illustrative guide on manually annotating your dataset with Rubrix.
2. Validating predictions
Nowadays, many pre-trained or zero-shot models are available online via model repositories like the Hugging Face Hub. Most of the time, you probably will find a model that already suits your specific dataset task to some degree. In Rubrix, you can pre-annotate your data by including predictions from these models in your records. Assuming that the model works reasonably well on your dataset, you can filter for records with high prediction scores and validate the predictions. In this way, you will rapidly annotate part of your data and alleviate the annotation process.
One downside of this approach is that your annotations will be subject to the possible biases and mistakes of the pre-trained model. When guided by pre-trained models, it is common to see human annotators get influenced by them. Therefore, it is advisable to avoid pre-annotations when building a rigorous test set for the final model evaluation.
Check the introduction tutorial to learn to add predictions to the records. And our feature reference includes a detailed guide on validating predictions in the Rubrix web app.
3. Defining rules (weak labeling)
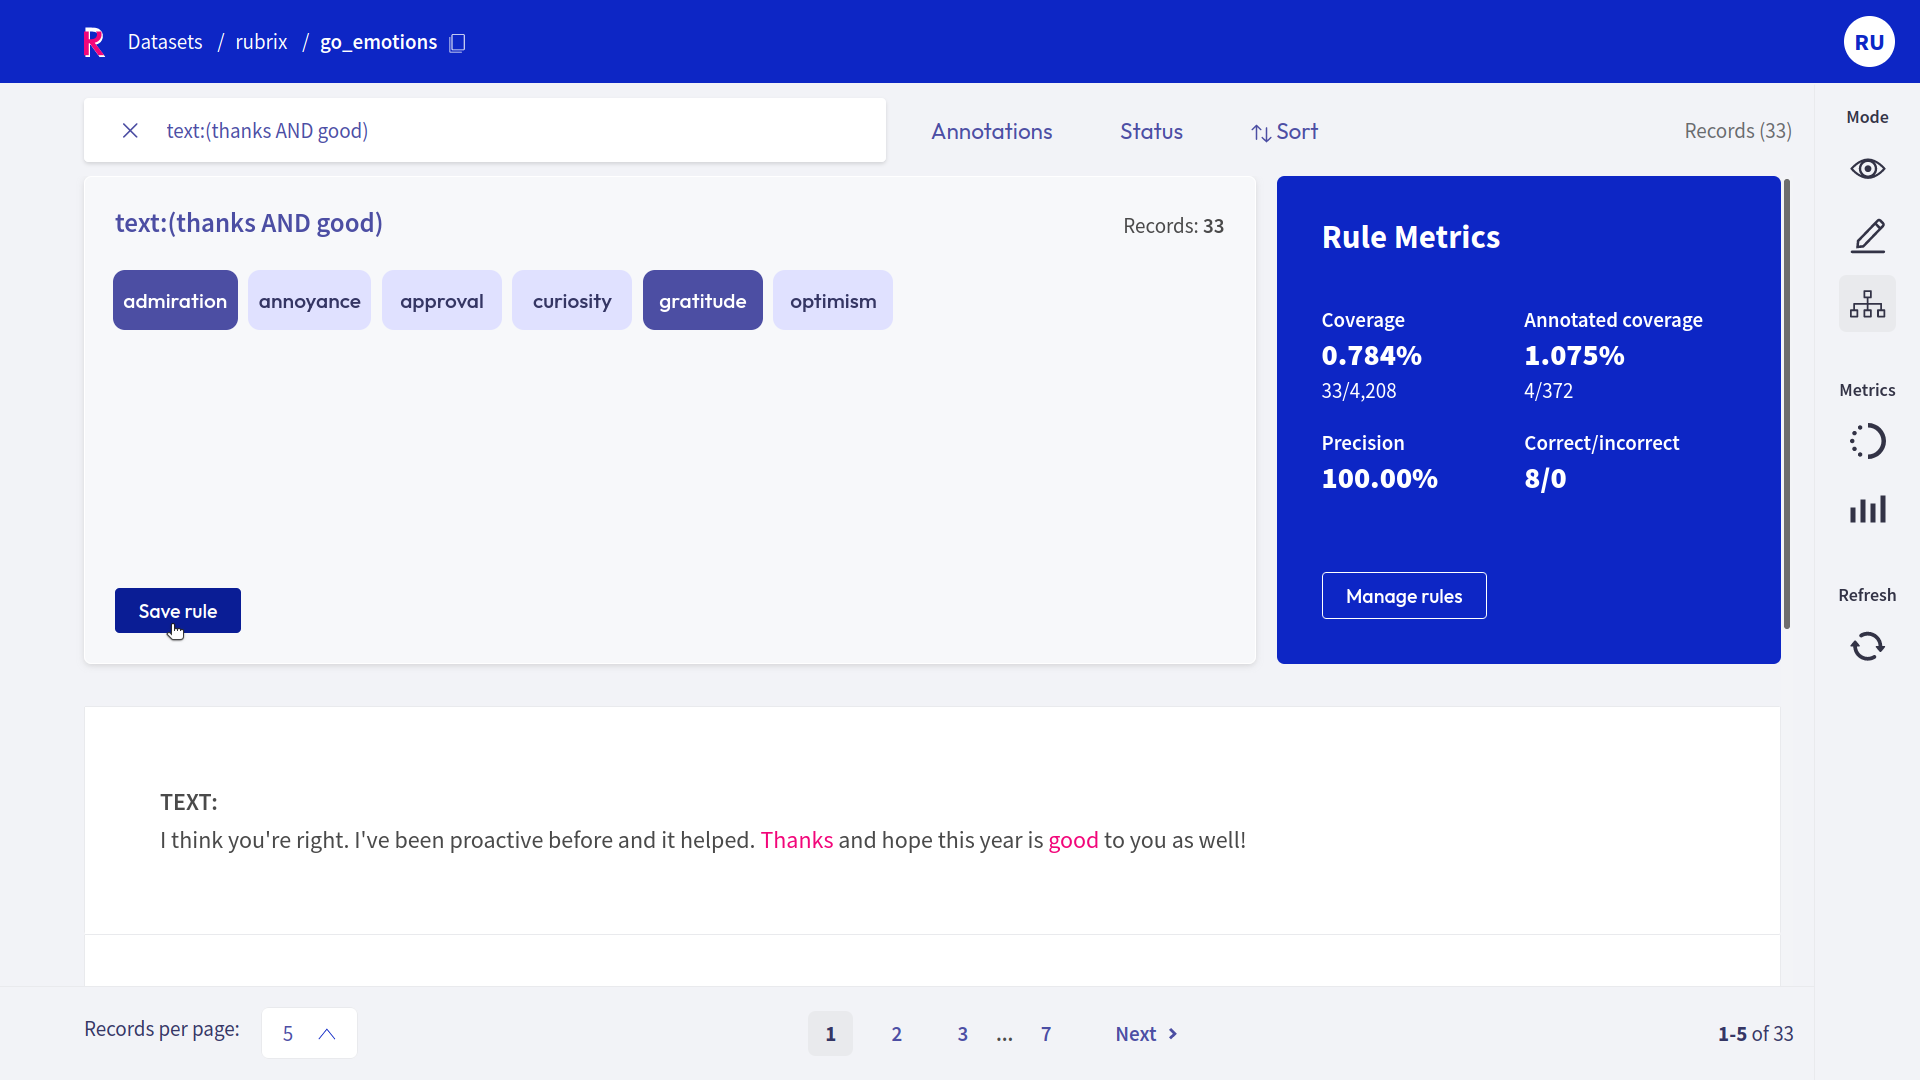
Another approach to annotating your data is to define heuristic rules tailored to your dataset. For example, let us assume you want to classify news articles into the categories of Finance, Sports, and Culture. In this case, a reasonable rule would be to label all articles that include the word “stock” as Finance.
Rules can get arbitrarily complex and can also include the record’s metadata. The downsides of this approach are that it might be challenging to come up with working heuristic rules for some datasets. Furthermore, rules are rarely 100% precise and often conflict with each other.These noisy labels can be cleaned up using weak supervision and label models, or something as simple as majority voting. It is usually a trade-off between the amount of annotated data and the quality of the labels.
Check our guide for an extensive introduction to weak supervision with Rubrix. Also, check the feature reference for the Define rules mode of the web app and our various tutorials to see practical examples of weak supervision workflows.