📰 Building a news classifier with weak supervision
TL;DR
We build a news classifier using rules and weak supervision
For this example, we use the AG News dataset but you can follow this process to programatically label any dataset.
The train split without labels is used to build a training set with rules, Rubrix and Snorkel’s Label model.
The test set is used for evaluating our weak labels, label model and downstream news classifier.
We achieve 0.81 macro avg. f1-score without using a single example from the original dataset and using a pretty lightweight model (scikit-learn’s
MultinomialNB).
The following diagram shows the overall process for using Weak supervision with Rubrix:

Setup Rubrix
Rubrix, is a free and open-source tool to explore, annotate, and monitor data for NLP projects.
If you are new to Rubrix, check out the ⭐ Github repository.
You can install Rubrix on your local machine, on a server, or using a cloud provider. If you have not installed and launched Rubrix, check the Setup and Installation guide.
Once installed, you only need to import Rubrix and some other libraries we’ll be using for this tutorial:
[2]:
import rubrix as rb
from rubrix.labeling.text_classification import *

from datasets import load_dataset
import pandas as pd
1. Load test and unlabelled datasets into Rubrix
Let’s load the test split from the ag_news dataset, which we’ll be using for testing our label and downstream models.
[ ]:
dataset = load_dataset("ag_news", split="test")

labels = dataset.features["label"].names

records = [
    rb.TextClassificationRecord(
        inputs=record["text"],
        metadata={"split": "test"},
        annotation=labels[record["label"]]
    )
    for record in dataset
]

rb.log(records, name="news")
Let’s load the train split from the ag_news dataset without labels. Our goal will be to programmatically build a training set using rules and weak supervision.
[ ]:
dataset = load_dataset("ag_news", split="train")

records = [
    rb.TextClassificationRecord(
        inputs=record["text"],
        metadata={"split": "unlabelled"},
    )
    for record in dataset
]

rb.log(records, name="news")
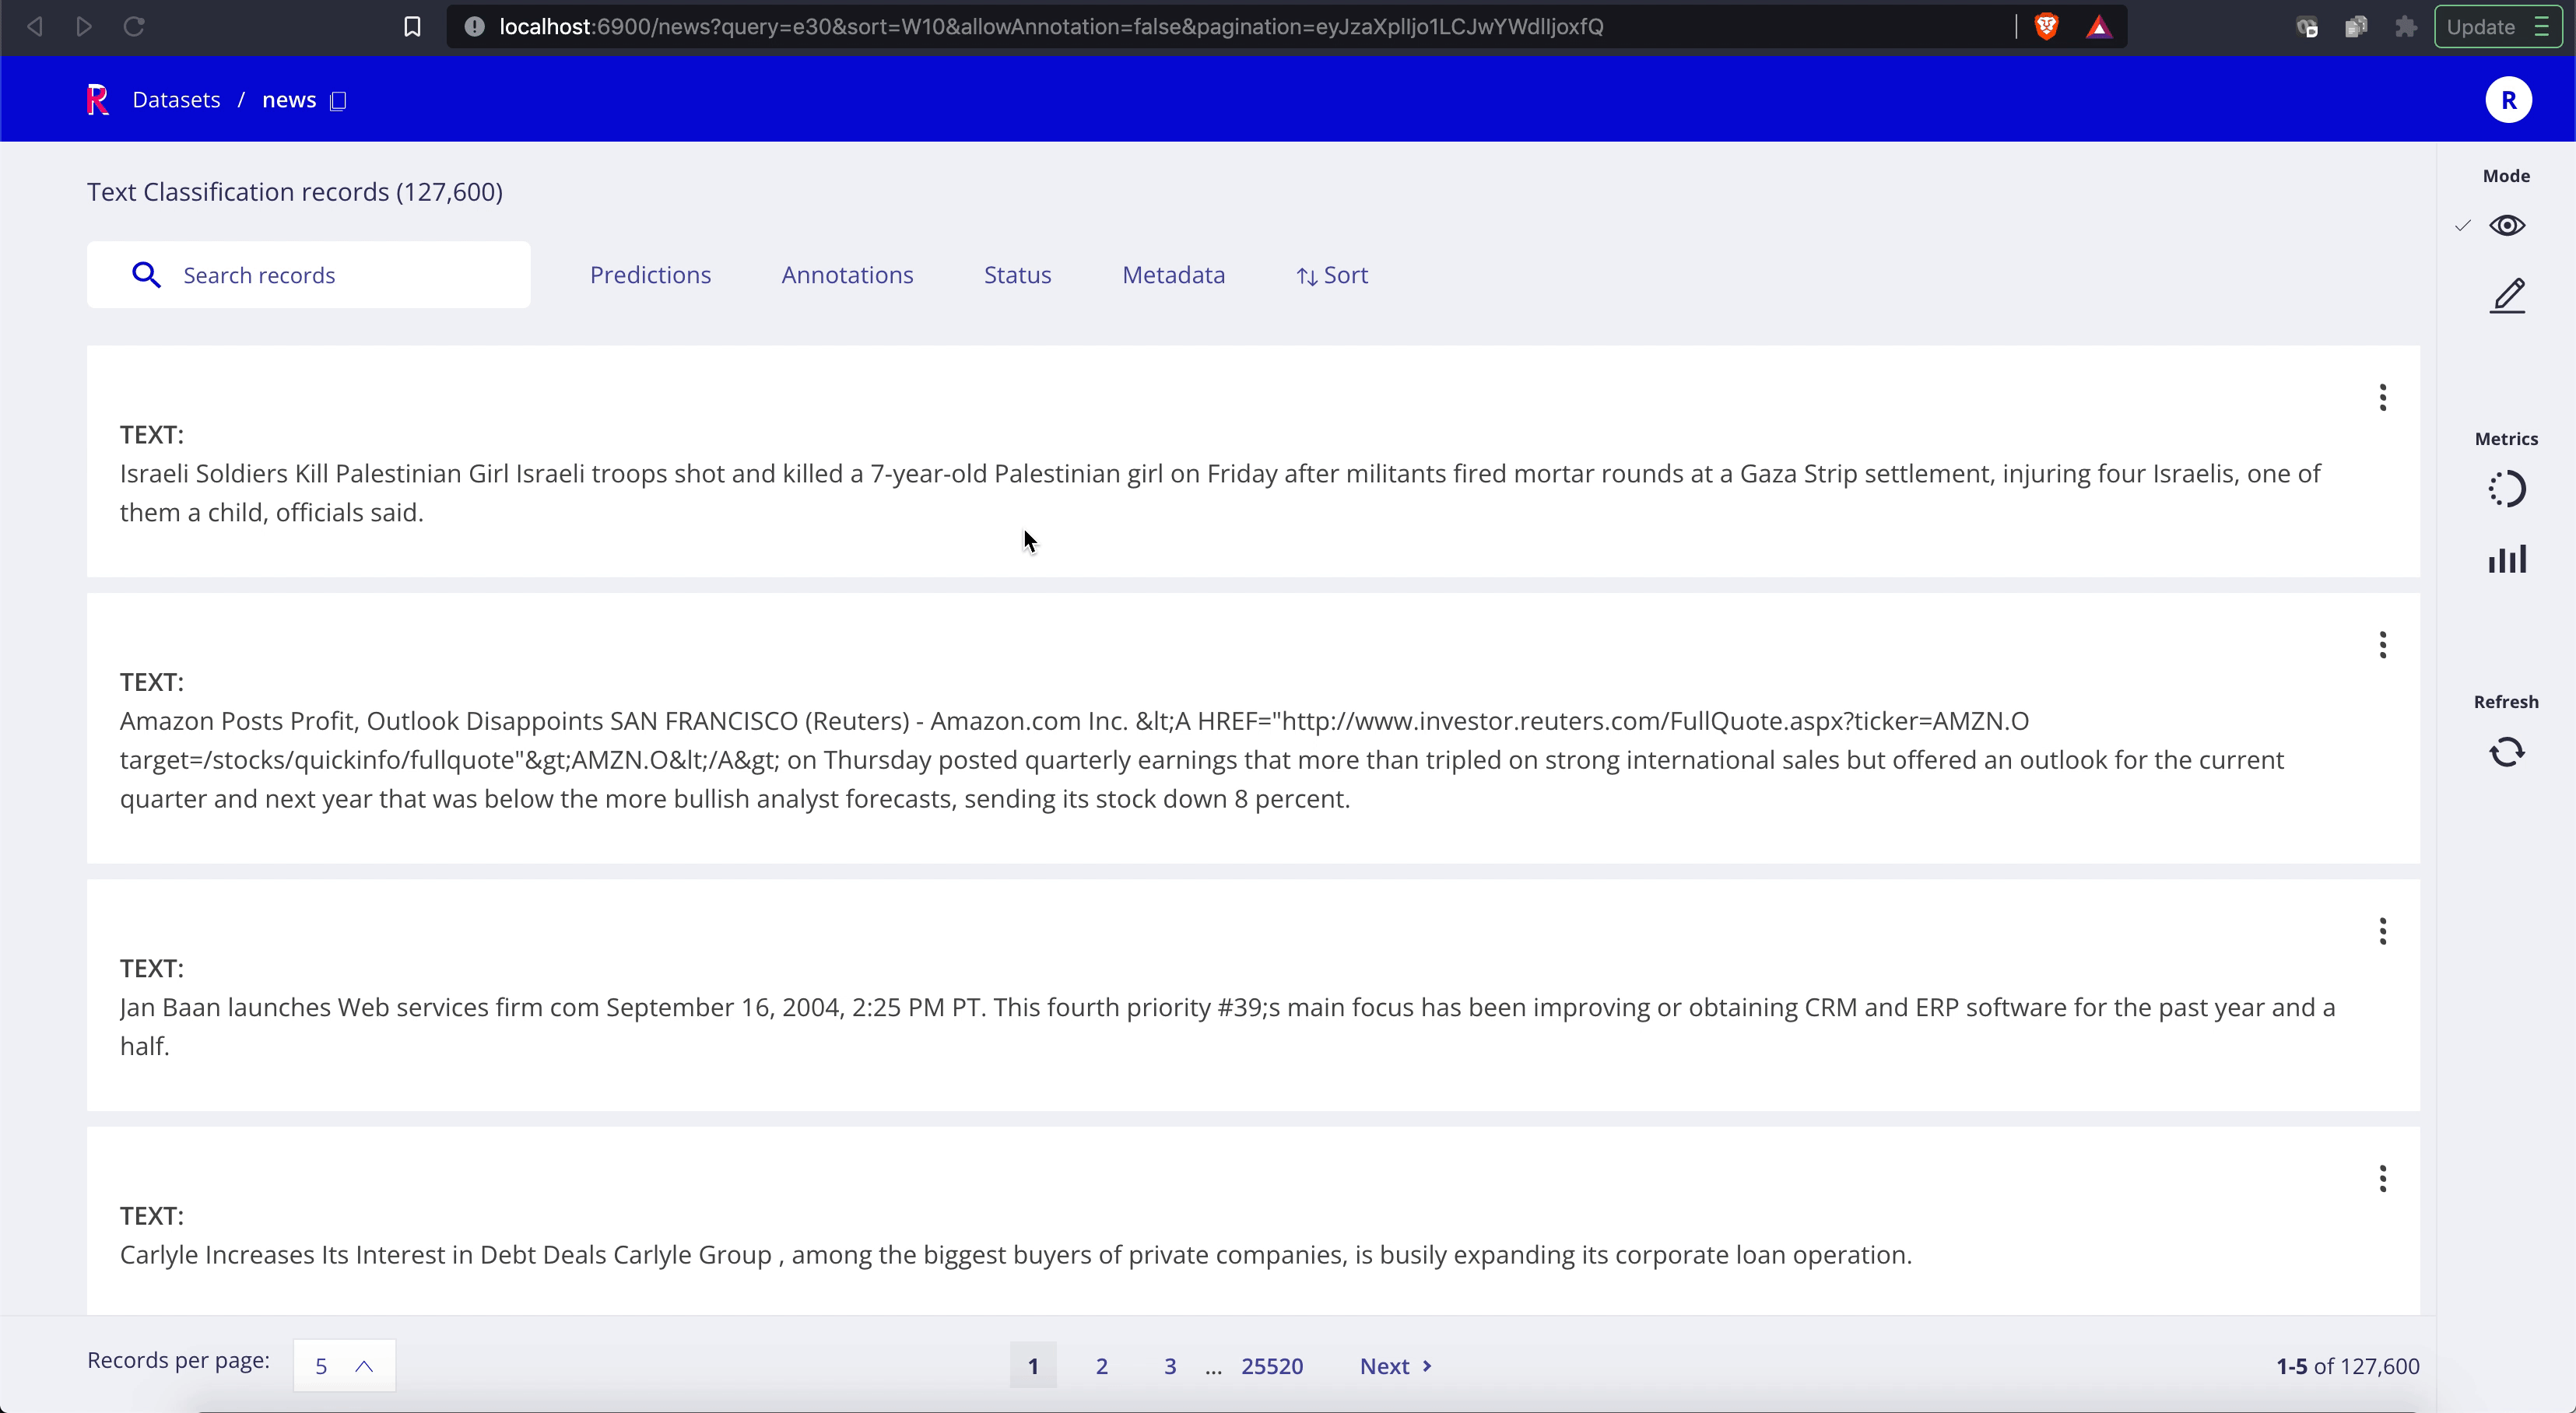
The result of the above is the following dataset in Rubrix with 127.600 records (120.000 unlabelled and 7.600 for testing).
You can use the webapp for finding good rules for programmatic labeling.
2. Create rules and weak labels
Let’s define some rules for each category, here you can use the expressive power of Elasticsearch’s query string DSL.
[3]:
# Define queries and patterns for each category (using ES DSL)
queries = [
  (["money", "financ*", "dollar*"], "Business"),
  (["war", "gov*", "minister*", "conflict"], "World"),
  (["footbal*", "sport*", "game", "play*"], "Sports"),
  (["sci*", "techno*", "computer*", "software", "web"], "Sci/Tech")
]

rules = [
    Rule(query=term, label=label)
    for terms,label in queries
    for term in terms
]
[ ]:
weak_labels = WeakLabels(
    rules=rules,
    dataset="news"
)
It takes around 24 seconds to apply the rules and get the weak labels for the 127.600 examples
Typically, you want to iterate on the rules and check their statistics. For this, you can use weak_labels.summary method:
[5]:
weak_labels.summary()
[5]:
| polarity | coverage | overlaps | conflicts | correct | incorrect | precision | |
|---|---|---|---|---|---|---|---|
| money | {Business} | 0.008276 | 0.002437 | 0.001936 | 30 | 37 | 0.447761 |
| financ* | {Business} | 0.019655 | 0.005893 | 0.005188 | 80 | 55 | 0.592593 |
| dollar* | {Business} | 0.016591 | 0.003542 | 0.002908 | 87 | 37 | 0.701613 |
| war | {World} | 0.011779 | 0.003213 | 0.001348 | 75 | 26 | 0.742574 |
| gov* | {World} | 0.045078 | 0.010878 | 0.006270 | 170 | 174 | 0.494186 |
| minister* | {World} | 0.030031 | 0.007531 | 0.002821 | 193 | 22 | 0.897674 |
| conflict | {World} | 0.003041 | 0.001003 | 0.000102 | 18 | 4 | 0.818182 |
| footbal* | {Sports} | 0.013166 | 0.004945 | 0.000439 | 107 | 7 | 0.938596 |
| sport* | {Sports} | 0.021191 | 0.007045 | 0.001223 | 139 | 23 | 0.858025 |
| game | {Sports} | 0.038879 | 0.014083 | 0.002375 | 216 | 71 | 0.752613 |
| play* | {Sports} | 0.052453 | 0.016889 | 0.005063 | 268 | 112 | 0.705263 |
| sci* | {Sci/Tech} | 0.016552 | 0.002735 | 0.001309 | 114 | 26 | 0.814286 |
| techno* | {Sci/Tech} | 0.027218 | 0.008433 | 0.003174 | 155 | 60 | 0.720930 |
| computer* | {Sci/Tech} | 0.027320 | 0.011058 | 0.004459 | 159 | 54 | 0.746479 |
| software | {Sci/Tech} | 0.030243 | 0.009655 | 0.003346 | 184 | 41 | 0.817778 |
| web | {Sci/Tech} | 0.015376 | 0.004067 | 0.001607 | 76 | 25 | 0.752475 |
| total | {Sci/Tech, Business, Sports, World} | 0.317022 | 0.053582 | 0.019561 | 2071 | 774 | 0.727944 |
From the above, we see that our rules cover around 30% of the original training set with an average precision of 0.72, our hope is that the label and downstream models will improve both the recall and the precision of the final classifier.
3. Denoise weak labels with Snorkel’s Label Model
The goal at this step is to denoise the weak labels we’ve just created using rules. There are several approaches to this problem using different statistical methods.
In this tutorial, we’re going to use Snorkel but you can actually use any other Label model or weak supervision method (see the Weak supervision guide for more details).
For convenience, Rubrix defines a simple wrapper over Snorkel’s Label Model so it’s easier to use with Rubrix weak labels and datasets:
[6]:
# If Snorkel is not installed on your machine !pip install snorkel

label_model = Snorkel(weak_labels)

# Fit Label Model
label_model.fit()

# Test with labeled test set
label_model.score()
WARNING:rubrix.labeling.text_classification.label_models:Metrics are only calculated over non-abstained predictions!
[6]:
{'accuracy': 0.7448246725813266}
3. Prepare our training set
Now, we already have a “denoised” training set, which we can prepare for training a downstream model.
The label model predict returns TextClassificationRecord objects with the predictions from the label model.
We can either refine and review these records using the Rubrix Webapp, use them as is, or filter them by score for example.
In this case, we assume the predictions are precise enough and use them without any revision.
Our training set has ~38.000 records, which corresponds to all records where the label model has not abstained.
[20]:
records = label_model.predict()

# build a simple dataframe with text and the prediction with the highest score
df_train = pd.DataFrame([
    {"text": record.inputs["text"], "label": label_model.weak_labels.label2int[record.prediction[0][0]]}
    for record in records
])
df_train
[20]:
| text | label | |
|---|---|---|
| 0 | Jan Baan launches Web services firm com Septem... | 0 |
| 1 | Molson Indy Vancouver gets black flag quot;Th... | 1 |
| 2 | The football gods were on our side #39; Jason ... | 1 |
| 3 | Jags get offense clicking in second half Fred ... | 1 |
| 4 | Puzzle Over Low Galaxy Count Scientists from t... | 0 |
| ... | ... | ... |
| 38080 | Football legend Maradona rushed to hospital Fo... | 1 |
| 38081 | Head of British charity expelled from Sudan Th... | 3 |
| 38082 | From SANs to SATAs, storage vendors continue p... | 0 |
| 38083 | Billups Sits Out Because of Ankle Sprain (AP) ... | 1 |
| 38084 | Judge Rules for Oracle in PeopleSoft Bid (Reut... | 0 |
38085 rows × 2 columns
[19]:
# for the test set, we can retrieve the records with validated annotations (the original ag_news test set)
df_test = rb.load("news", query="status:Validated")

df_test['text'] = df_test.inputs.transform(lambda r: r['text'])
df_test['annotation'] = df_test['annotation'].apply(
    lambda r:label_model.weak_labels.label2int[r]
)
4. Train a downstream model with scikit-learn
Now, let’s train our final model using scikit-learn
[ ]:
from sklearn.feature_extraction.text import TfidfTransformer, CountVectorizer
from sklearn.naive_bayes import MultinomialNB
from sklearn.pipeline import Pipeline

classifier = Pipeline([
    ('vect', CountVectorizer()),
    ('clf', MultinomialNB())
])

classifier.fit(
    X=df_train.text.tolist(),
    y=df_train.label.values
)
[18]:
accuracy = classifier.score(
    X=df_test.text.tolist(),
    y=label_model.weak_labels.annotation()
)

f"Test accuracy: {accuracy}"
[18]:
'Test accuracy: 0.8177631578947369'
Not too bad!
We have achieved around 0.81 accuracy without even using a single example from the original ag_news train set and with a small set of rules (less than 30). Also, we’ve largely improved over the 0.74 accuracy of our Label Model.
Finally, let’s take a look at more detailed metrics:
[82]:
from sklearn import metrics

labels = list(label_model.weak_labels.label2int.keys())[1:] # removes "abstain" label
predicted = classifier.predict(df_test.text.tolist())

print(metrics.classification_report(label_model.weak_labels.annotation(), predicted, target_names=labels))
              precision    recall  f1-score   support

    Sci/Tech       0.76      0.83      0.80      1900
      Sports       0.86      0.98      0.91      1900
    Business       0.89      0.56      0.69      1900
       World       0.79      0.89      0.84      1900

    accuracy                           0.82      7600
   macro avg       0.82      0.82      0.81      7600
weighted avg       0.82      0.82      0.81      7600
Next steps
If you are interested in the topic of weak supervision check the Weak supervision guide.